
Introduction
Minecraft is a popular sandbox video game that allows players to build and explore in a 3D procedurally generated world. It offers a variety of activities, including construction, exploration, resource gathering, crafting, and combat. This tutorial will guide you through setting up a personal Minecraft server on Ubuntu using VPS SELL.
Requirements
This tutorial uses Ubuntu 16.04, but the steps are applicable to other Ubuntu and Debian versions as well. Here’s how to quickly install Ubuntu 16.04 on VPS SELL:
- Log in to the Client Area.
- Navigate to "My Services > VPS" in the top menu.
- Click "Manage" for the relevant service.
- Select "Install OS."
- Choose Ubuntu 16.04 from the list, agree to the warning, and click "Continue."
- Wait 5-10 minutes for the installation to complete, then refresh the VPS management page.
Update System
Before installing any software, update and upgrade your server:
apt-get update
apt-get upgrade -y
Install OpenJDK
Install OpenJDK (an open-source Java implementation) and the GNU Screen package:
apt-get install openjdk-8-jre-headless screen
Create a New User
Create a new user for Minecraft and grant them "sudo" rights:
adduser minecraft
usermod -a -G sudo minecraft
Switch to the newly created Minecraft user:
Install Minecraft
Download the Latest Minecraft Server Version:
wget https://s3.amazonaws.com/Minecraft.Download/versions/1.11.2/minecraft_server.1.11.2.jar
(Note: Check the official Minecraft website for the latest version.)
Create a Startup Script:
Create a file named run.sh in the Minecraft user’s home directory:
nano /home/minecraft/run.sh
Paste the following code into the file:
#!/bin/sh
BINDIR=$(dirname "$(readlink -fn "$0")")
cd "$BINDIR"
java -Xms1024M -Xmx1536M -jar minecraft_server.1.11.2.jar -o true
(The -Xms and-Xmx` flags set the minimum and maximum RAM for the server. Adjust these values based on your server’s resources.)
- Make the Script Executable:
chmod +x /home/minecraft/run.sh
Run Minecraft Server
Start the Server:
The first time you run the server, it will create an eula.txt file and then exit:
Accept the EULA:
Open eula.txt and change the value of eula to true:
nano /home/minecraft/eula.txt
Run the Server in a Screen Session:
To run the server independently of an SSH connection, use GNU Screen:
sudo screen /home/minecraft/run.sh
(Press CTRL+a then d to detach from the screen session. Use screen -r to reattach.)
Connect to Your Minecraft Server
- Open Minecraft Client: Launch the game on your local machine.

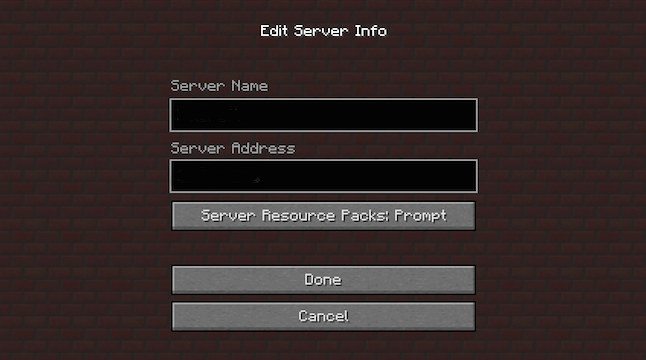
- Add Your Server:
- Click on "Multiplayer".
- Click "Add Server" and enter your server's IP address or hostname.
- Click "Done".
- Join the Server:
- Select your server from the list and click "Join Server".
Conclusion
Congratulations! You now have your own private Minecraft server. You can play with friends and customize your Minecraft world with various configurations and mods to enhance your gaming experience.